The Ultimate Guide to Lash Adhesive | JB LASHES
Posted by JB Cosmetics on
Got questions about lash adhesive? You’ve come to the right place.
Finding the right lash adhesive – and getting comfortable with how you use it – is crucial to your success as an eyelash extension technician. The right adhesive will help you lash faster and achieve better retention, which of course means happy clients and a boosted reputation!
In this post, we break down the answers to some frequently asked questions about lash adhesive. From storage to application, we share the tricks of the trade that will make you a better lash artist.

What is the best lash adhesive for eyelash extensions?
When it comes to lash adhesive, there’s a huge range of options to choose from – so it’s understandable if you’re not sure where to start. And choosing the right adhesive comes down to a number of factors, which means the answer is slightly different for everyone!
The first thing to do is take a step back and review your setup. How fast do you tend to lash? What’s the humidity of your room like? What kind of techniques do you use?
The way you answer these questions will help to narrow down the best lash adhesive for your particular practice.
Speed of Application
If you lash at lightning speed, you’ll need a fast-drying eyelash glue like our Power Volume Adhesive. With a dry time of only half a second, this adhesive provides a super-strong bond with instant cling.
If you naturally work at a slower pace, you’ll need a lash adhesive that won’t cure too quickly as you’re using it – something like our Mega Classic Adhesive, for example. This lash glue has a dry time of about a second, giving you some extra time to work with as you apply your extensions.
Bear in mind that the faster-drying your lash glue is, the more liable it is to trigger irritation in very sensitive clients. If you know your client has struggled with irritation in the past, it’s best to use a more gentle product such as our Super Pure Adhesive. Products with lower fumes have a longer drying time – five seconds in the case of Super Pure – but are much gentler on clients with sensitive skin or eyes.

Humidity of Lash Room
Lash adhesive is extremely sensitive to the environment in which it’s stored and used, so it’s important to choose a product that suits your particular lash room.
Make sure you invest in both a thermometer and hygrometer for your lash room, so you’re always aware of the temperature and humidity you’re working in. The ideal humidity for lashing is in the 45-60% range. If your room tends to be at the upper end of that scale, you might find you struggle with your adhesive staying tacky and causing extensions to clump up. In these conditions, you need a high humidity lash glue. This will prevent your adhesive from curing too quickly.
Low humidity can be a problem too, though. Lash adhesive requires a certain amount of moisture in the air to be able to cure. If the air in your room is very dry, you might find you struggle with your adhesive not curing properly due to the lack of moisture. This can cause your extensions to slide off the natural lashes. In these conditions, you need to choose a low humidity adhesive with a faster drying time.
Bear in mind that your room’s humidity will change with the seasons, so it’s important to keep an eye on your environment and switch up your lash glue when appropriate.
Lashing Technique
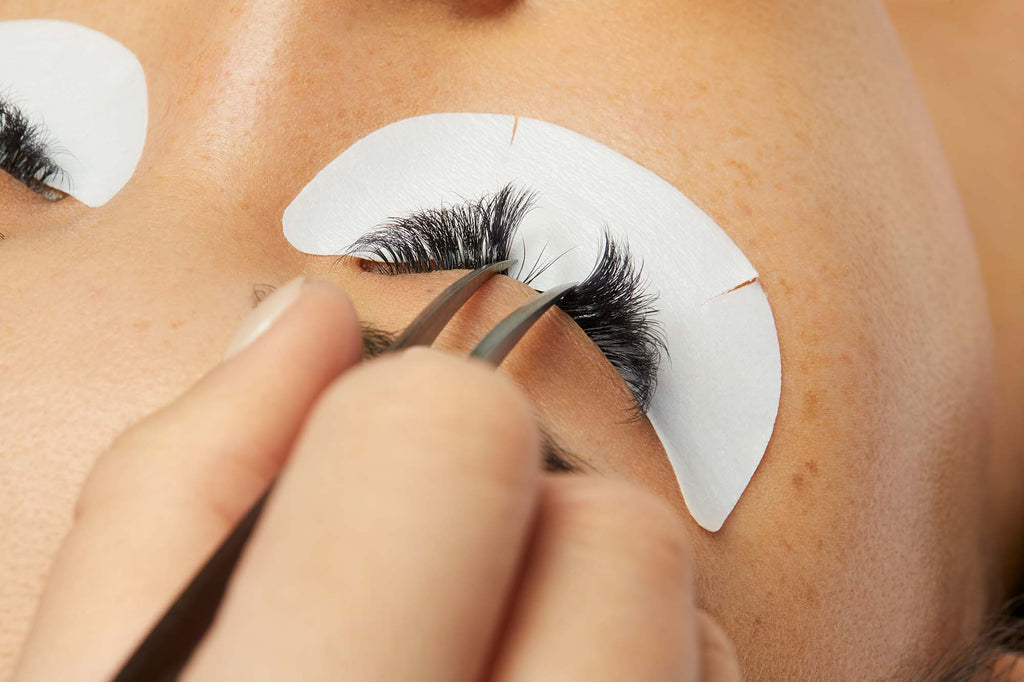
Finally, the type of lash adhesive you need will depend on the technique you’re using for each particular client. If you’re applying a volume set, the best lash adhesive to use is one with instant cling, thin viscosity, and fast drying time.
If you’re applying classic lashes, you have a bit more flexibility in your choice of glue. If you’re new to lashing, we’d recommend you start off with a slower-drying adhesive such as Mega Classic or Super Pure. Once you get a feel for how long it takes you to apply a set of classic lashes, you can switch up your adhesive accordingly.

How Should I Store My Lash Adhesive?
To keep your lash adhesive in tip-top condition for as long as possible, it’s important to store it under the right conditions.
Your lash glue should always be capped and kept in a cool, dry place away from heat and direct sunlight. Once opened, we recommend storing your adhesive in an airtight container, such as the Heat Protective Pouch included in our Adhesive First Aid Kit. As well as a handy pouch that protects your glue from deterioration, the kit contains an array of accessories to help you in a lash emergency!
How Should I Prepare My Lash Adhesive Before I Use It?
When it comes to lashing, it’s all about the preparation. When you start your day, the first thing on your agenda (after your morning coffee!) should be to give your lash adhesive a good shake. This is because the ingredients in your glue naturally separate when left to sit. To properly mix up your formula, you’ll need to shake the bottle for at least two minutes.
Once you start lashing, it’s recommended that you keep shaking the bottle regularly throughout your appointments. Giving it a shake for about ten seconds each time you dispense a new drop should do the trick.
Top tip: shake your adhesive from left to right rather than shaking it up and down – this will help prevent pesky air bubbles from forming in the nozzle and interfering with the adhesive’s performance.

How Can I Keep My Lash Adhesive Fresh?
Dispense With Care
Try not to squeeze your bottle of lash glue when dispensing your drop. Instead, gently open the cap and let gravity do the rest. This will help to keep excess air out of your bottle, extending the shelf life of your adhesive.
Once you’ve applied the drop, use the “burping” technique to release any air bubbles trapped in the adhesive nozzle. Hold your adhesive bottle in an upright position, then gently squeeze the bottle to ‘burp’ it and release the air bubbles out. Then, use a lint-free wipe to clean around the nozzle to prevent any adhesive buildup, and close the cap immediately.
Know When to Replace Your Drop
As you dip into your adhesive throughout your appointment, the formula becomes more and more oxidized. And the more oxygen introduced into your adhesive, the less effective it becomes.
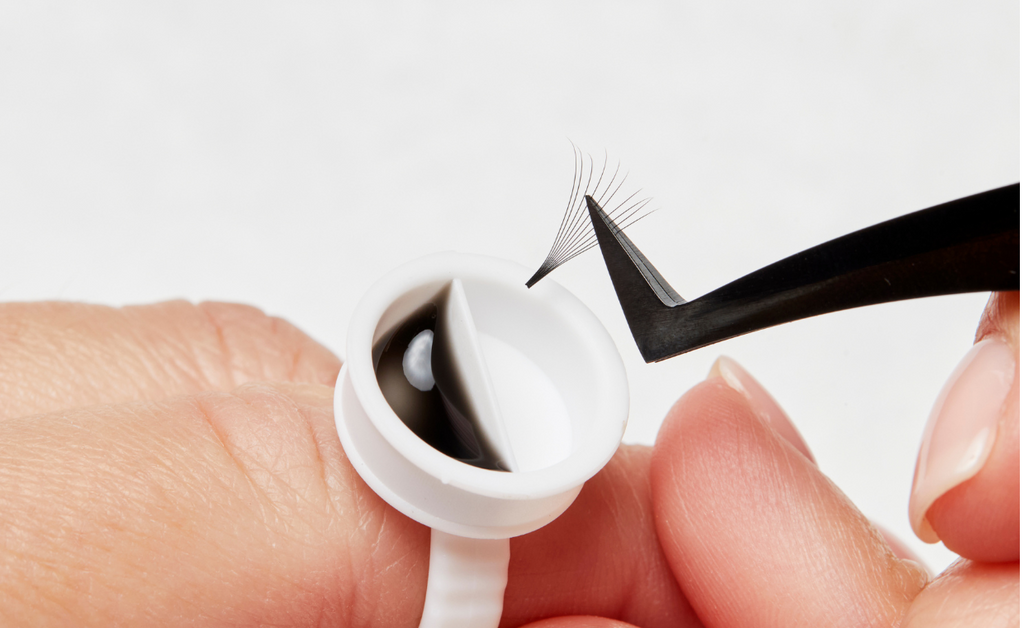
Maximize the performance of your lash glue by dispensing a new adhesive drop around every 15-20 minutes. You’ll notice your drop needs freshening if it goes from holding a round dome-like shape to lying in more of a flat puddle.

Use the Right Surface
The right surface for your adhesive will help you lash faster and with more successful results. We recommend using something like our Rose Quartz Stone to ensure a clean palette for your adhesive that will stay cool throughout your appointment. This will prevent your glue from curing too quickly.
Whichever surface you prefer to use, it’s a good idea to cover it in a strip of micropore paper tape. The material of the tape helps to keep your drop in that ideal round dome shape, which keeps it fresher for longer during your appointment. The freshest part of your adhesive is always in the center of the drop, rather than around the edges where it’s been exposed to the air.
How Long Can I Keep My Lash Adhesive For?
At the very least, you should be replacing your lash adhesive every four to six weeks. Once opened, lash adhesive has a limited shelf life and its performance will deteriorate if kept for any longer. Ideally, adhesive should be replaced even more regularly if you’re able. When it comes to lash glue, the fresher the better!
Top tip: a sure-fire way to know if your glue is past its best is if you notice a change in its texture. If your lash adhesive becomes thick, goopy, or sticky, it has oxidized too much and needs to be discarded. Never use your glue when it is in this state!
Getting the Most Out of Your Lash Adhesive
At JB Lashes, we’re experts in all things lashing. From prep to aftercare, we provide the tools and guidance you need to apply beautiful lashes with incredible longevity.
Make sure you check out our full range of adhesives and lash adhesive accessories, including our Adhesive First Aid Kit and Nano Lash Curing Mist. And if you want to make sure you always have fresh lash glue in stock, you can save 15% by signing up for our adhesive subscription service.
Stay tuned to our blog for more hints and tips to improve your lashing practice!